
Goldrake, Mazinga Z, Jeeg Robot, Captain Harlock — the anime robots and cartoons of the 80s and 90s that shaped an...
Latest posts
-
 80s and 90s Anime Robots — The Nostalgia That Never FadesRead more
 -
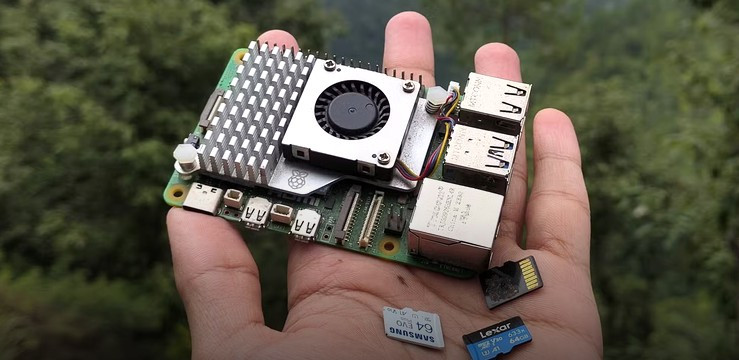 microSD Backup and Restore for Raspberry Pi — Batocera and RetroPieRead more
Running Batocera or RetroPie on your Raspberry Pi and want to protect your setup? Creating a microSD backup is simple...
-
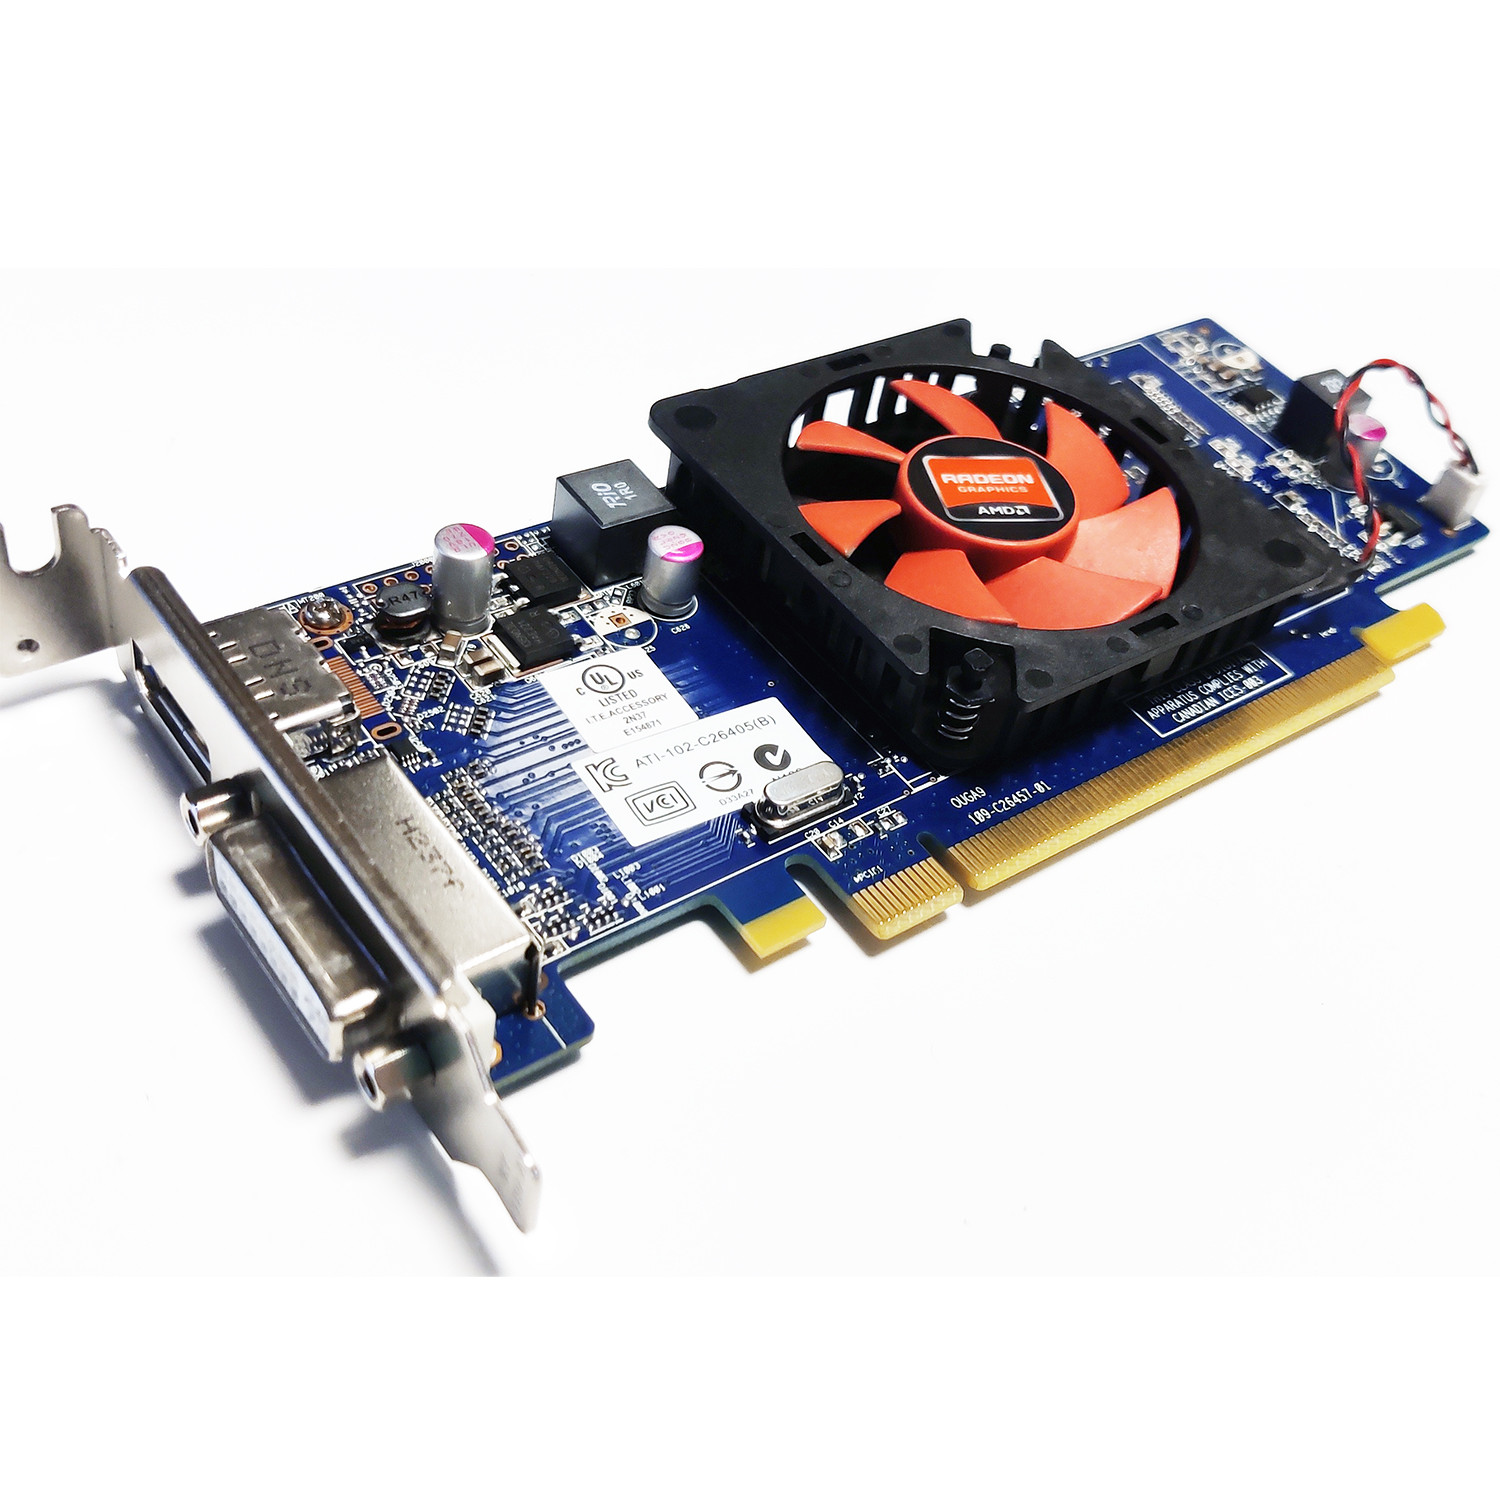 ArcadeVGA ATI 7470 on Arcade Cabinet: CRT Boot with ATOM-15 BIOS FlashRead more
Complete guide to flashing the BIOS of an ATI 7470 graphics card with ATOM-15 to get video output from boot on CRT...
-
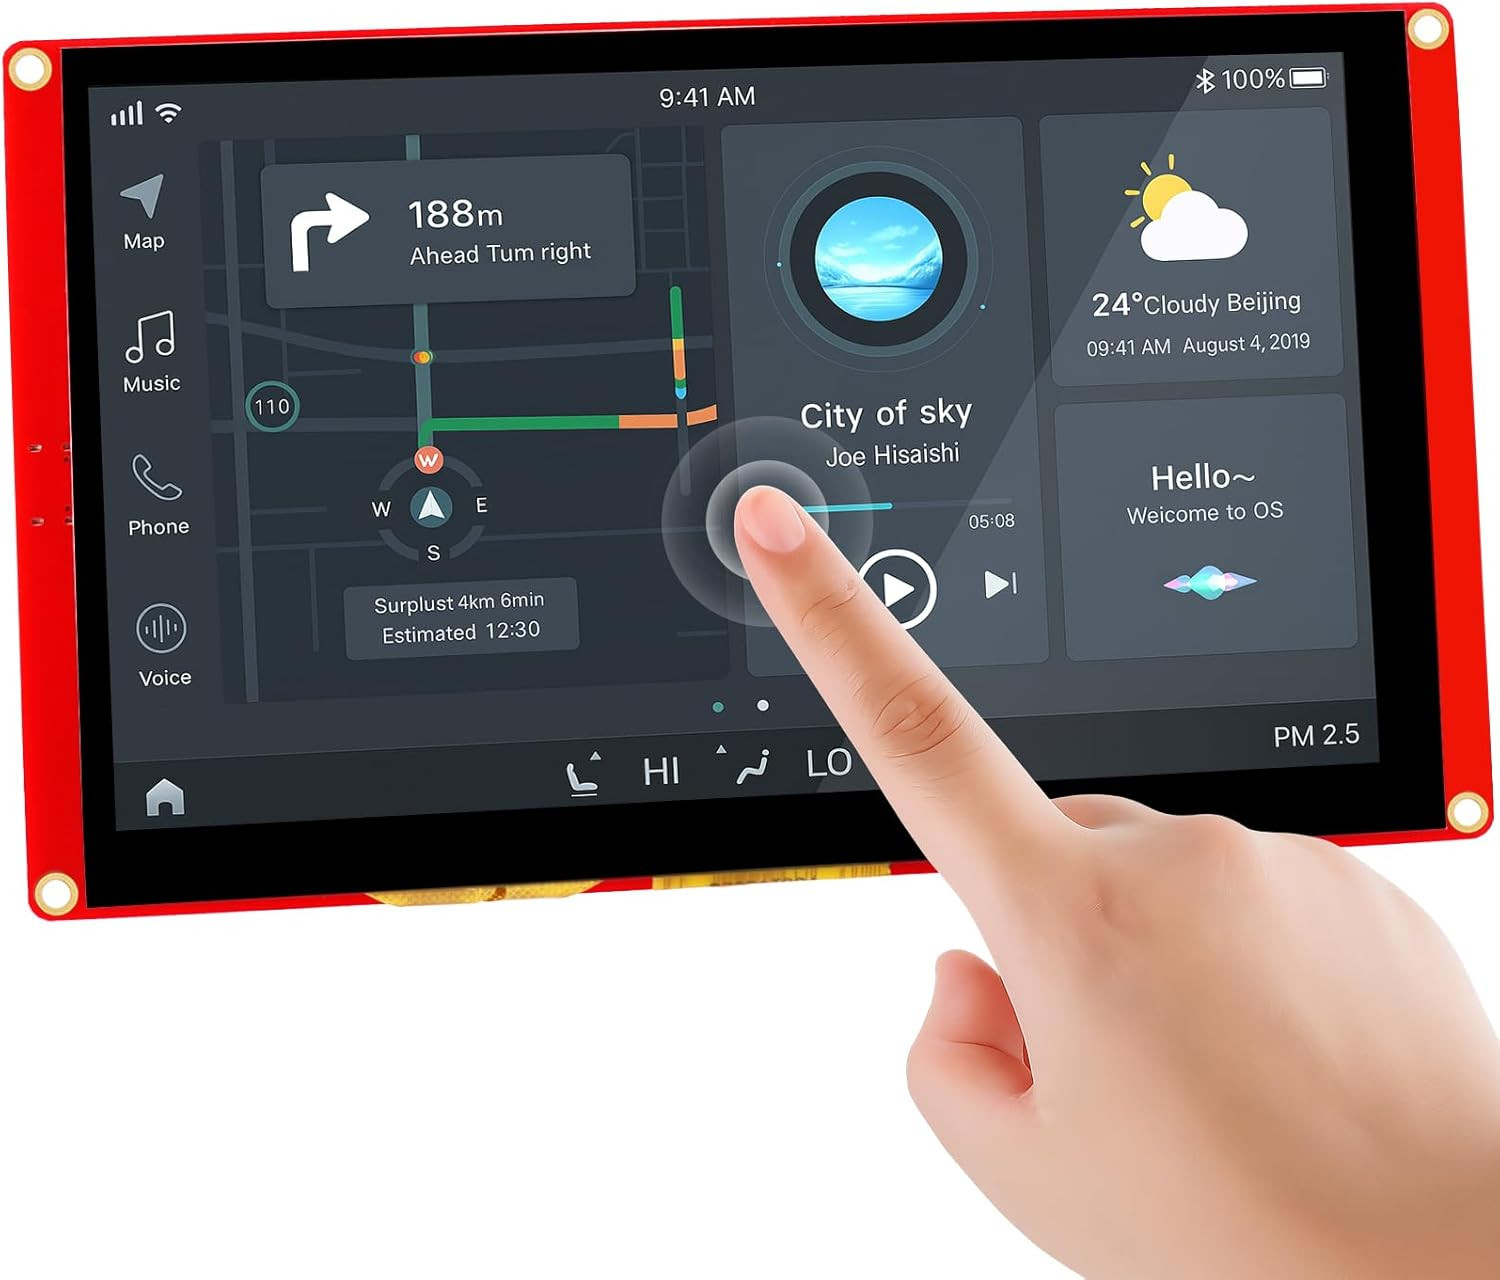 Nextion Intelligent Series: FFC GPIO Connector Pinout - Complete GuideRead more
The FFC GPIO connector on Nextion Intelligent Series displays is undocumented by Nextion. After an in-depth analysis...
-
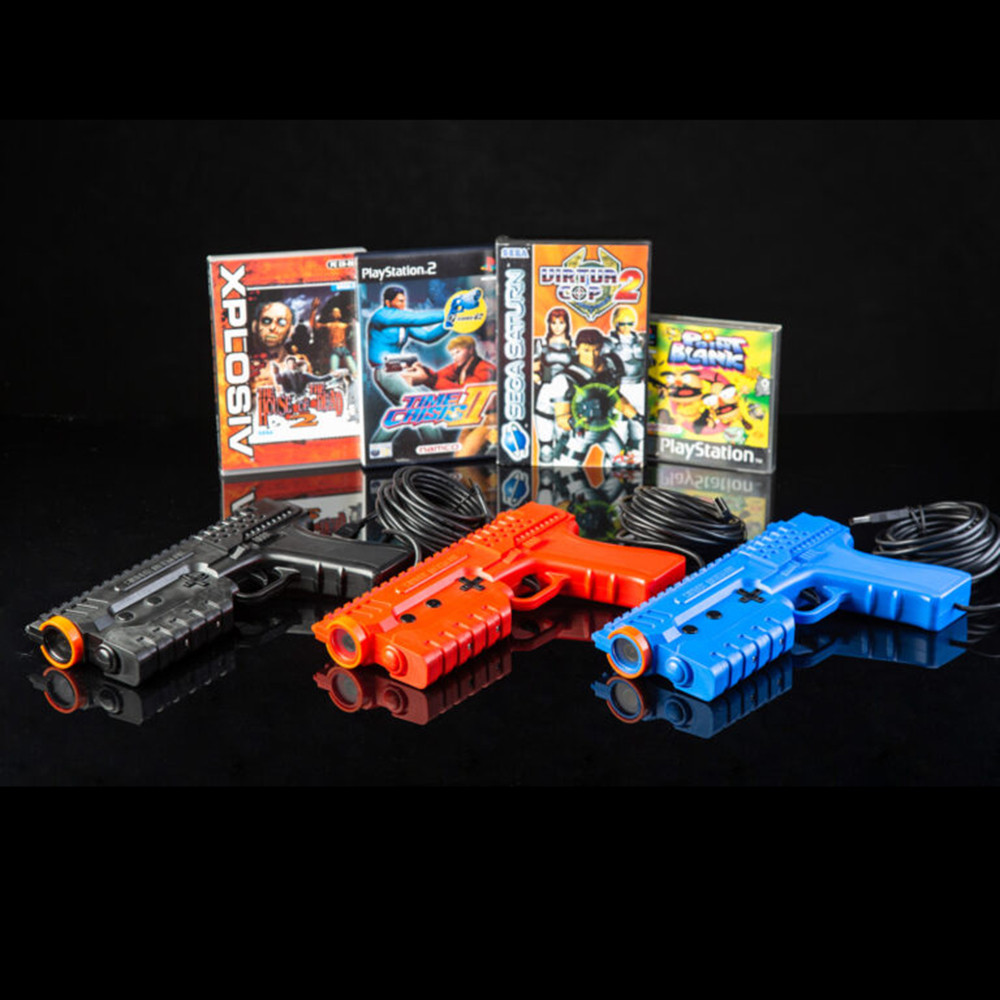 Sinden Lightgun: the arcade gun that actually works on any modern TVRead more
Ever tried using an arcade light gun on a modern TV? It doesn't work. The Sinden Lightgun solved this problem in a...
Blog categories
Search in blog
Archived posts
ArcadeVGA ATI 7470 on Arcade Cabinet: CRT Boot with ATOM-15 BIOS Flash
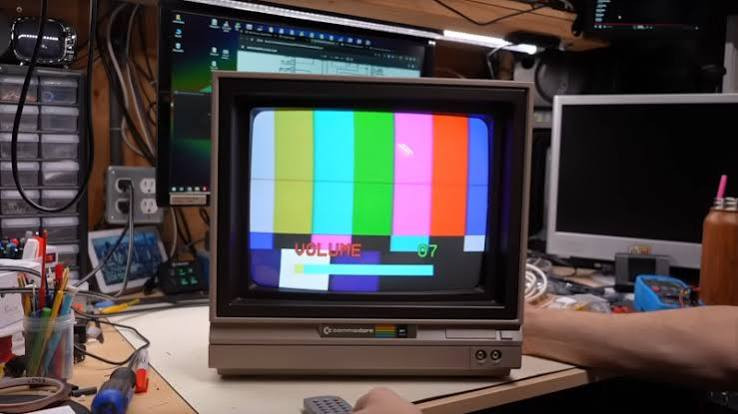
If you have an arcade cabinet with a CRT monitor and want to connect an ATI 7470 graphics card, you already know the main problem: the card doesn't output at 15KHz on boot, so the monitor gets no signal at all.
The solution is to flash the card's BIOS with ATOM-15, a tool that modifies the video output frequencies so they're compatible with CRT monitors right from the system boot screen.
If you'd rather skip the procedure and get straight to gaming, we have pre-modded ArcadeVGA cards ready to use — no flashing required.
What this procedure does
Flashing the BIOS with ATOM-15 allows the ATI 7470 to display the Windows boot screen on a CRT monitor at 15KHz – 25KHz – 31KHz. Once the operating system has loaded, the card behaves like any normal graphics card: you'll need to install the appropriate drivers and configure the frequencies using dedicated software.
Recommended software for Windows:
- CRTemuDriver — official GitHub repository · download and installation guide · all versions for all cards
- GroovyMame — installation instructions
- PowerStrip — full graphics card management
- VGA and SCART cables — cable guide
The ArcadeVGA card — what you can achieve
With a flashed ArcadeVGA card (based on the ATI 7470) you can get Pixel Perfect RGB resolutions on CRT monitors for all MAME-compatible arcade games, on both vertical and horizontal monitors. The card always outputs at 15KHz, so the PC boot screen is visible on the CRT without needing a secondary LCD monitor.
The ATOM-15 package
This guide is based on the original English version available here: original EN guide.
The package with ATOM-15 v1.5 and the English guide can be downloaded from Google Drive: download ATOM-15 v1.5.
Warning — experimental software. Use at your own risk. This software has the potential to leave your graphics card in an unusable state. If something goes wrong, you won't be able to boot the system to restore the original BIOS: you'll need a PC with two PCI-E slots and a second graphics card. Note that the motherboard's integrated GPU is usually not helpful here, as it gets automatically disabled by the BIOS as soon as a PCI-E card is connected.
How ATOM-15 works
ATOM-15 modifies the card's BIOS firmware so that video output frequencies are adjusted to the specified ranges. The modifications only apply during the BIOS POST and operating system loading — once the OS drivers take over, the card behaves normally.
Using it is straightforward:
- Open the BIOS image (
*.binor*.rom) — if the format is recognised, the Patch BIOS button becomes active. - Select your monitor's frequency ranges (15KHz, 25KHz, 31KHz) and click Patch BIOS.
- You'll get a modified BIOS file with the
-modsuffix, ready to flash.
A few notes on how ATOM-15 handles video modes:
- With 15KHz and 31KHz selected: calculates 640×480 at 31KHz to avoid interlaced mode.
- With 25KHz and 31KHz selected: calculates 1024×768 at 25KHz as interlaced, to avoid large black borders.
Vertical frequency is always adjusted to the 50–60Hz range to prevent 31KHz arcade monitors from losing sync.
Flashing the BIOS — ATIFlash (MS-DOS)
Download here: ATIFlash on TechPowerUp
- Boot into MS-DOS from a bootable USB drive with
atiflash.exeon it. atiflash -s 0 bios.rom— extracts the BIOS from the card.- Reboot into Windows and use
atom-15.exeto patch the BIOS. Copybios-mod.romback to the USB drive. - Reboot into MS-DOS.
atiflash -p 0 bios-mod.rom— flashes the modified BIOS.- Reboot.
Use short filenames in MS-DOS (max 8 characters + 3 extension). If you have more than one graphics card installed, make sure -p 0 and -s 0 are pointing to the right one.
Flashing the BIOS — ATI Winflash (Windows)
Download here: ATI Winflash on TechPowerUp
cd C:\atiwinflashatiflash -s 0 bios.rom- Patch the BIOS with
atom-15.exe. atiflash -p 0 bios-mod.rom- Reboot.
ATI Winflash is easier thanks to the graphical interface, but we prefer ATIFlash from MS-DOS because it lets you test the patched BIOS with lbios.com before physically flashing it to the card.
Testing the BIOS before flashing with lbios.com
lbios.com loads the modified BIOS into system RAM without performing a physical flash — useful for verifying it works before committing. If the system freezes after running lbios, do not flash the BIOS. The effects are not persistent: everything returns to normal after a reboot.
MS-DOS command line syntax: c:\lbios romname.rom
UEFI notes
ATOM-15 does not guarantee compatibility with UEFI BIOS. It may work if the UEFI code uses VESA modes — in that case it will require the 1024×768 VESA mode, which is available with the 25KHz or 31KHz ranges. With the 15KHz range only, this mode is not possible: accessing the UEFI configuration will result in a black screen.
Looking for a ready-to-use solution?
Pre-modded ArcadeVGA cards are available on Digitalkey.it →
Did you follow this guide and want to share your experience? Get in touch — we'll update the article with your feedback.
Posted in:
Guides
Related posts
-
Nextion Intelligent Series: FFC GPIO Connector Pinout - Complete Guide
The FFC GPIO connector on Nextion Intelligent Series displays is undocumented by Nextion. After an in-depth analysis...Read more
-
microSD Backup and Restore for Raspberry Pi — Batocera and RetroPie
Running Batocera or RetroPie on your Raspberry Pi and want to protect your setup? Creating a microSD backup is simple...Read more
Leave a comment